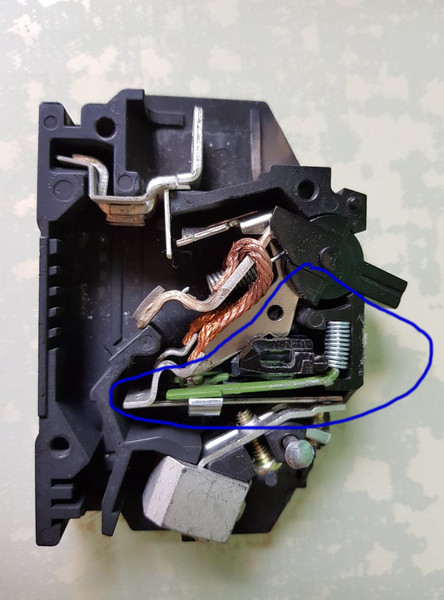
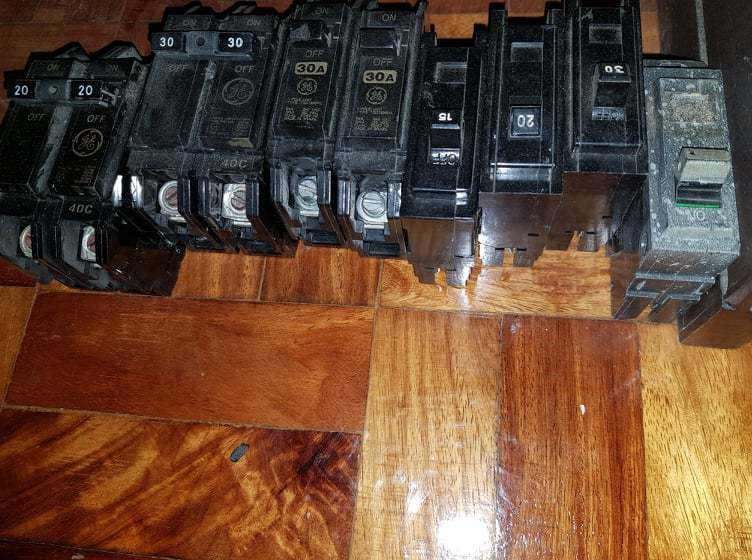
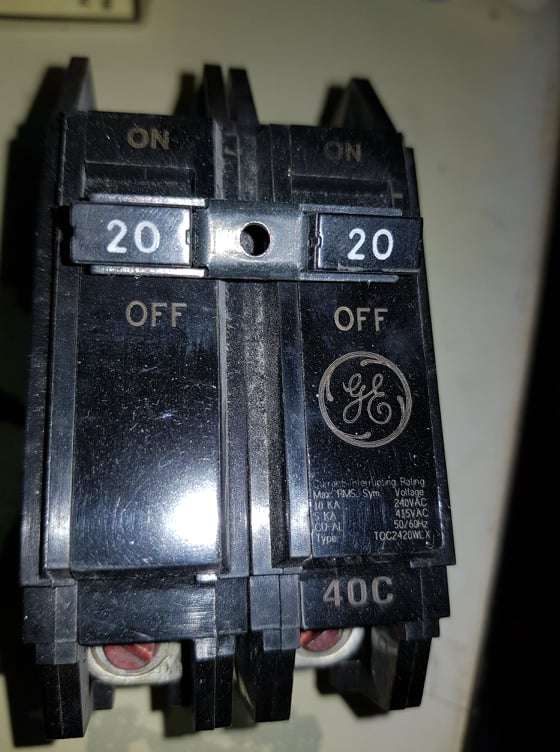
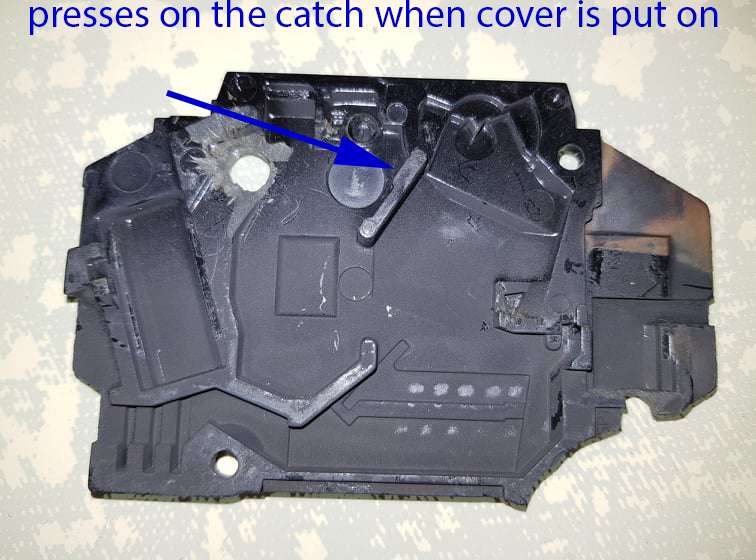
With covers fully on. If one removed the common handle, and put one side to off position, and the other partner still trips. Then the implication is the American who built the home in the province is using counterfeit breakers.
I read this:
"One of the most counterfeited electrical components is circuit breakers. These fake products may pose a number of safety and legal risks to consumers and businesses.
The market for counterfeit products cost businesses almost $250 billion in the U.S. each year and the global economy $500 billion annually. Siemens said contractors may find it difficult to distinguish counterfeit circuit breakers from ones made by legitimate companies and components. However, contractors can
spot fake electrical products when they know to look for tell-tale signs, according to Siemens.
How to Spot Fake Circuit Breakers
Products Lacking Instructions, Warnings or Warranties
Products that are missing instructions or warranties is one of the first indicators that a product is not from an authentic manufacturer. Companies usually include instructions or warranties to show proof of purchase.
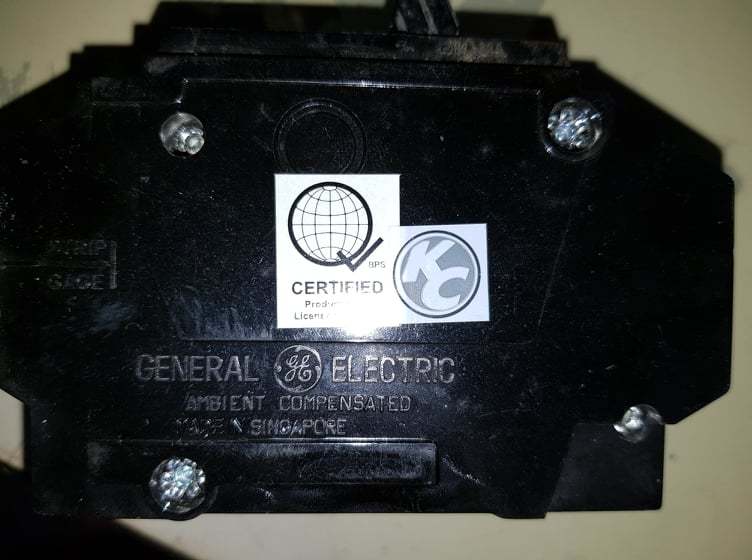
Packaging or Markings Are Missing or Different From Legitimate Products
For example, contractors may notice that product packaging may have the wrong colors. The products themselves may be designed incorrectly or
not labeled with the country of origin, according to Schneider Electric.
Product Performance Is Unusual
Contractors who often handle the same products may note key differences in performance from fake products as opposed to authentic ones. For example, there could be product defects that cause the product to malfunction or break.
Product Price Is Too Low
While the price may seem too good to pass up, fake circuit breakers may be priced cheaply because they were made with inferior components.
"
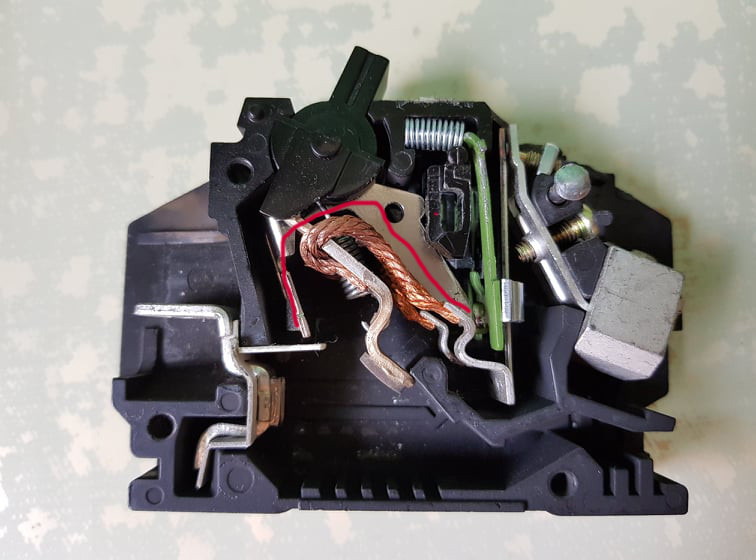
mbrooke, Have you ever seen a counterfeit breaker. How does it look like? What if it looks so much like the original (even smell like the original) that it's almost indistinguishable except the counterfeit won't trip during a short?
In the American who built a house in the province with a Filipina. What if he got a unit where one half of the pole is genuine, while the partner is counterfeit?
Or maybe you were right that it's the mechanism. Hope you can help determine. Thank you.